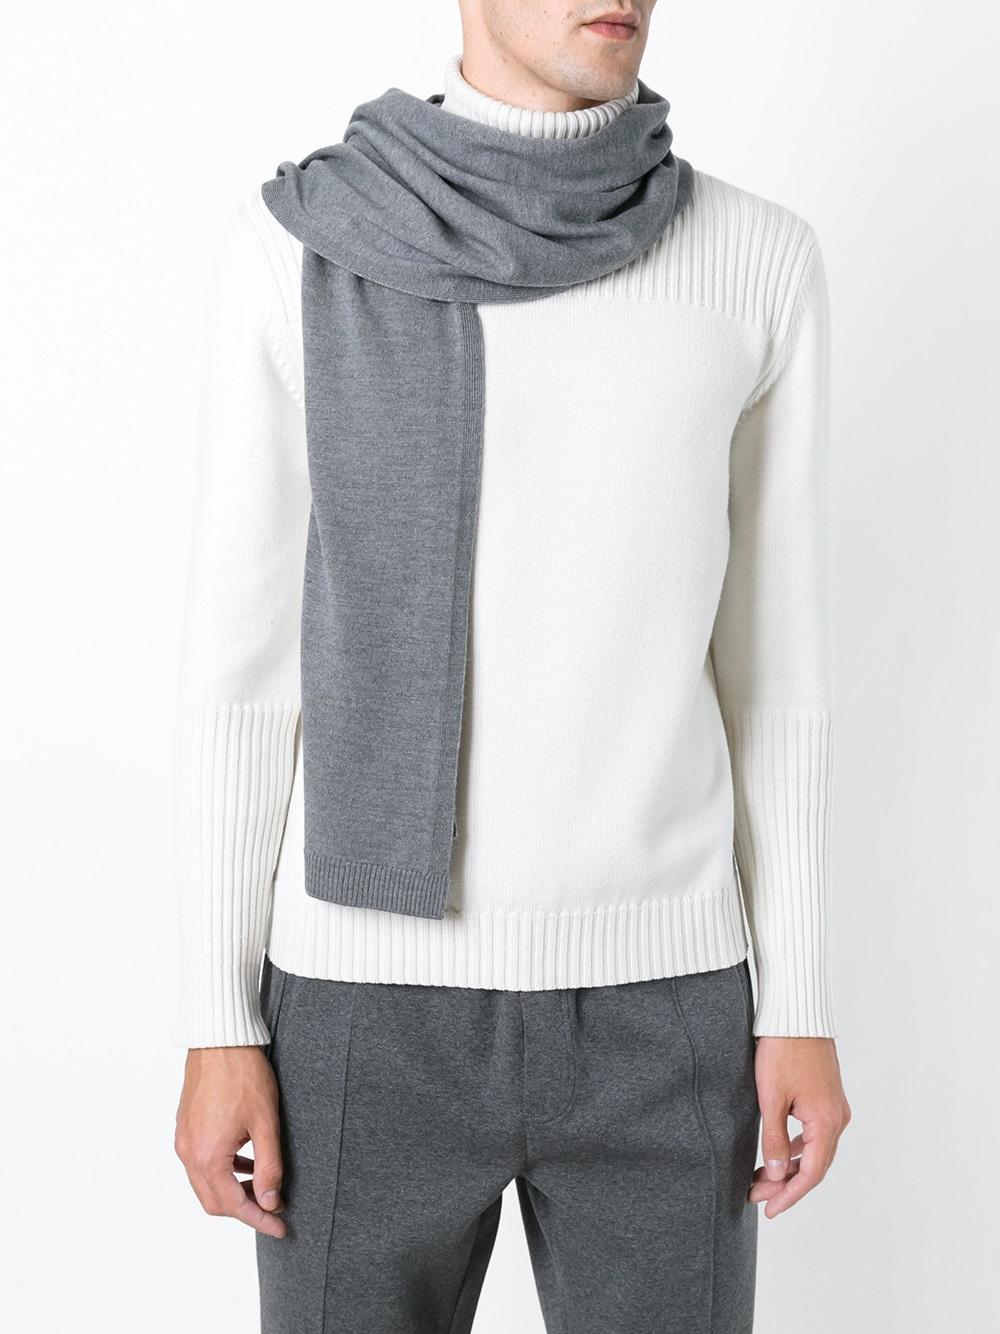
Tutorial on Knitting a Scarf
This tutorial provides a step-by-step guide on how to knit a scarf. It covers the basic materials and tools needed, including yarn, needles, scissors, and a ruler. The tutorial starts by casting on the necessary number of stitches onto the needles. It then explains how to create the knit stitch, including how to insert the needle into the stitch below and draw it through. The tutorial also covers how to increase and decrease the number of stitches, as well as how to form the scarf's ends. Finally, it provides tips on how to finish the scarf, including weaving in the ends and blocking it to its desired shape.
Introduction:
Knitting a scarf can be a relaxing and rewarding hobby. It can also be a great way to show off your creativity and add a personal touch to your wardrobe. In this tutorial, we'll teach you the basics of scarf knitting, from setting up your materials to completing your first scarf.
What You'll Need:

Knitting needles: choose a size that's comfortable for you.
Yarn: choose a color and material that you like, taking into consideration the intended use of the scarf (e.g., acrylic yarn for a washable scarf).
Scissors: for cutting the yarn at the end of your project.
Tapestry needle: for weaving in the ends of the yarn.
Step-by-Step Guide:
1、Casting On:
* Start by winding the yarn around your needle, creating a slipknot. This will be the first stitch.
* Insert the needle into the first stitch and pull the yarn through, creating a new stitch on the other end of the needle. Repeat this process until you have the desired number of stitches on your needle.
2、Knitting the Body of the Scarf:

* There are two main knitting techniques: knitting flat (on two needles) and knitting in the round (on circular needles). For a scarf, we'll be knitting flat.
* With your working yarn in one hand and your non-working yarn in the other, bring the working yarn over the top of the non-working yarn and pull it through, creating a new stitch on your needle. Repeat this process for each stitch until you have completed the row.
* Turn your work and repeat the process for the next row, ensuring you keep track of your stitch count. Continue until the scarf is as long as you want it to be.
3、Binding Off:
* When you've reached the desired length, you'll need to bind off your stitches. This involves knitting two stitches together, then passing the resulting stitch over the next one, effectively reducing the number of stitches on your needle. Continue in this manner until you have only one stitch remaining. Cut the yarn, leaving a tail long enough to weave into the end of the scarf.
4、Weaving In the Ends:
* Using your tapestry needle, weave the ends of the yarn into the body of the scarf, following any pattern or design you may have chosen. Be sure to do this on both sides of the scarf for a clean finish.
5、Finishing Touches:
* Trim any loose ends of yarn with scissors. Iron your scarf if desired, using a low heat setting to avoid melting the yarn.

Conclusion:
Knitting a scarf is a great way to practice patience and precision. With time and practice, you'll be able to create beautiful scarves that not only keep you warm but also make great gifts for family and friends. Enjoy your newfound hobby of scarf knitting!
Common Knitting Terms:
Stitch: The individual unit of knitting created by interlocking loops of yarn.
Row: A set of stitches worked from one end to the other of the knitting.
Garter Stitch: A basic pattern created by alternating rows of knits and purls, resulting in a smooth, ridged fabric. It's often used for scarves as it's both easy to achieve and visually appealing.
Articles related to the knowledge points of this article:
Title: Mastering the Art of Mens Tie Selection: A Comprehensive Guide
Title: Womens Brand羽绒服,时尚与功能的完美结合
Title: Mastering the Art of Tie Knotting: A Guide to Tying Bachelors Grooming Accessories
Title: Delving into the World of Delvaux Scarves: A Masterpiece of Timeless Elegance


